
1·
11 months agohttps://youtu.be/DUvkz-XcYRs?si=R6Z63zq1g9rEhnfH
I think this might be a method.
https://youtu.be/DUvkz-XcYRs?si=R6Z63zq1g9rEhnfH
I think this might be a method.
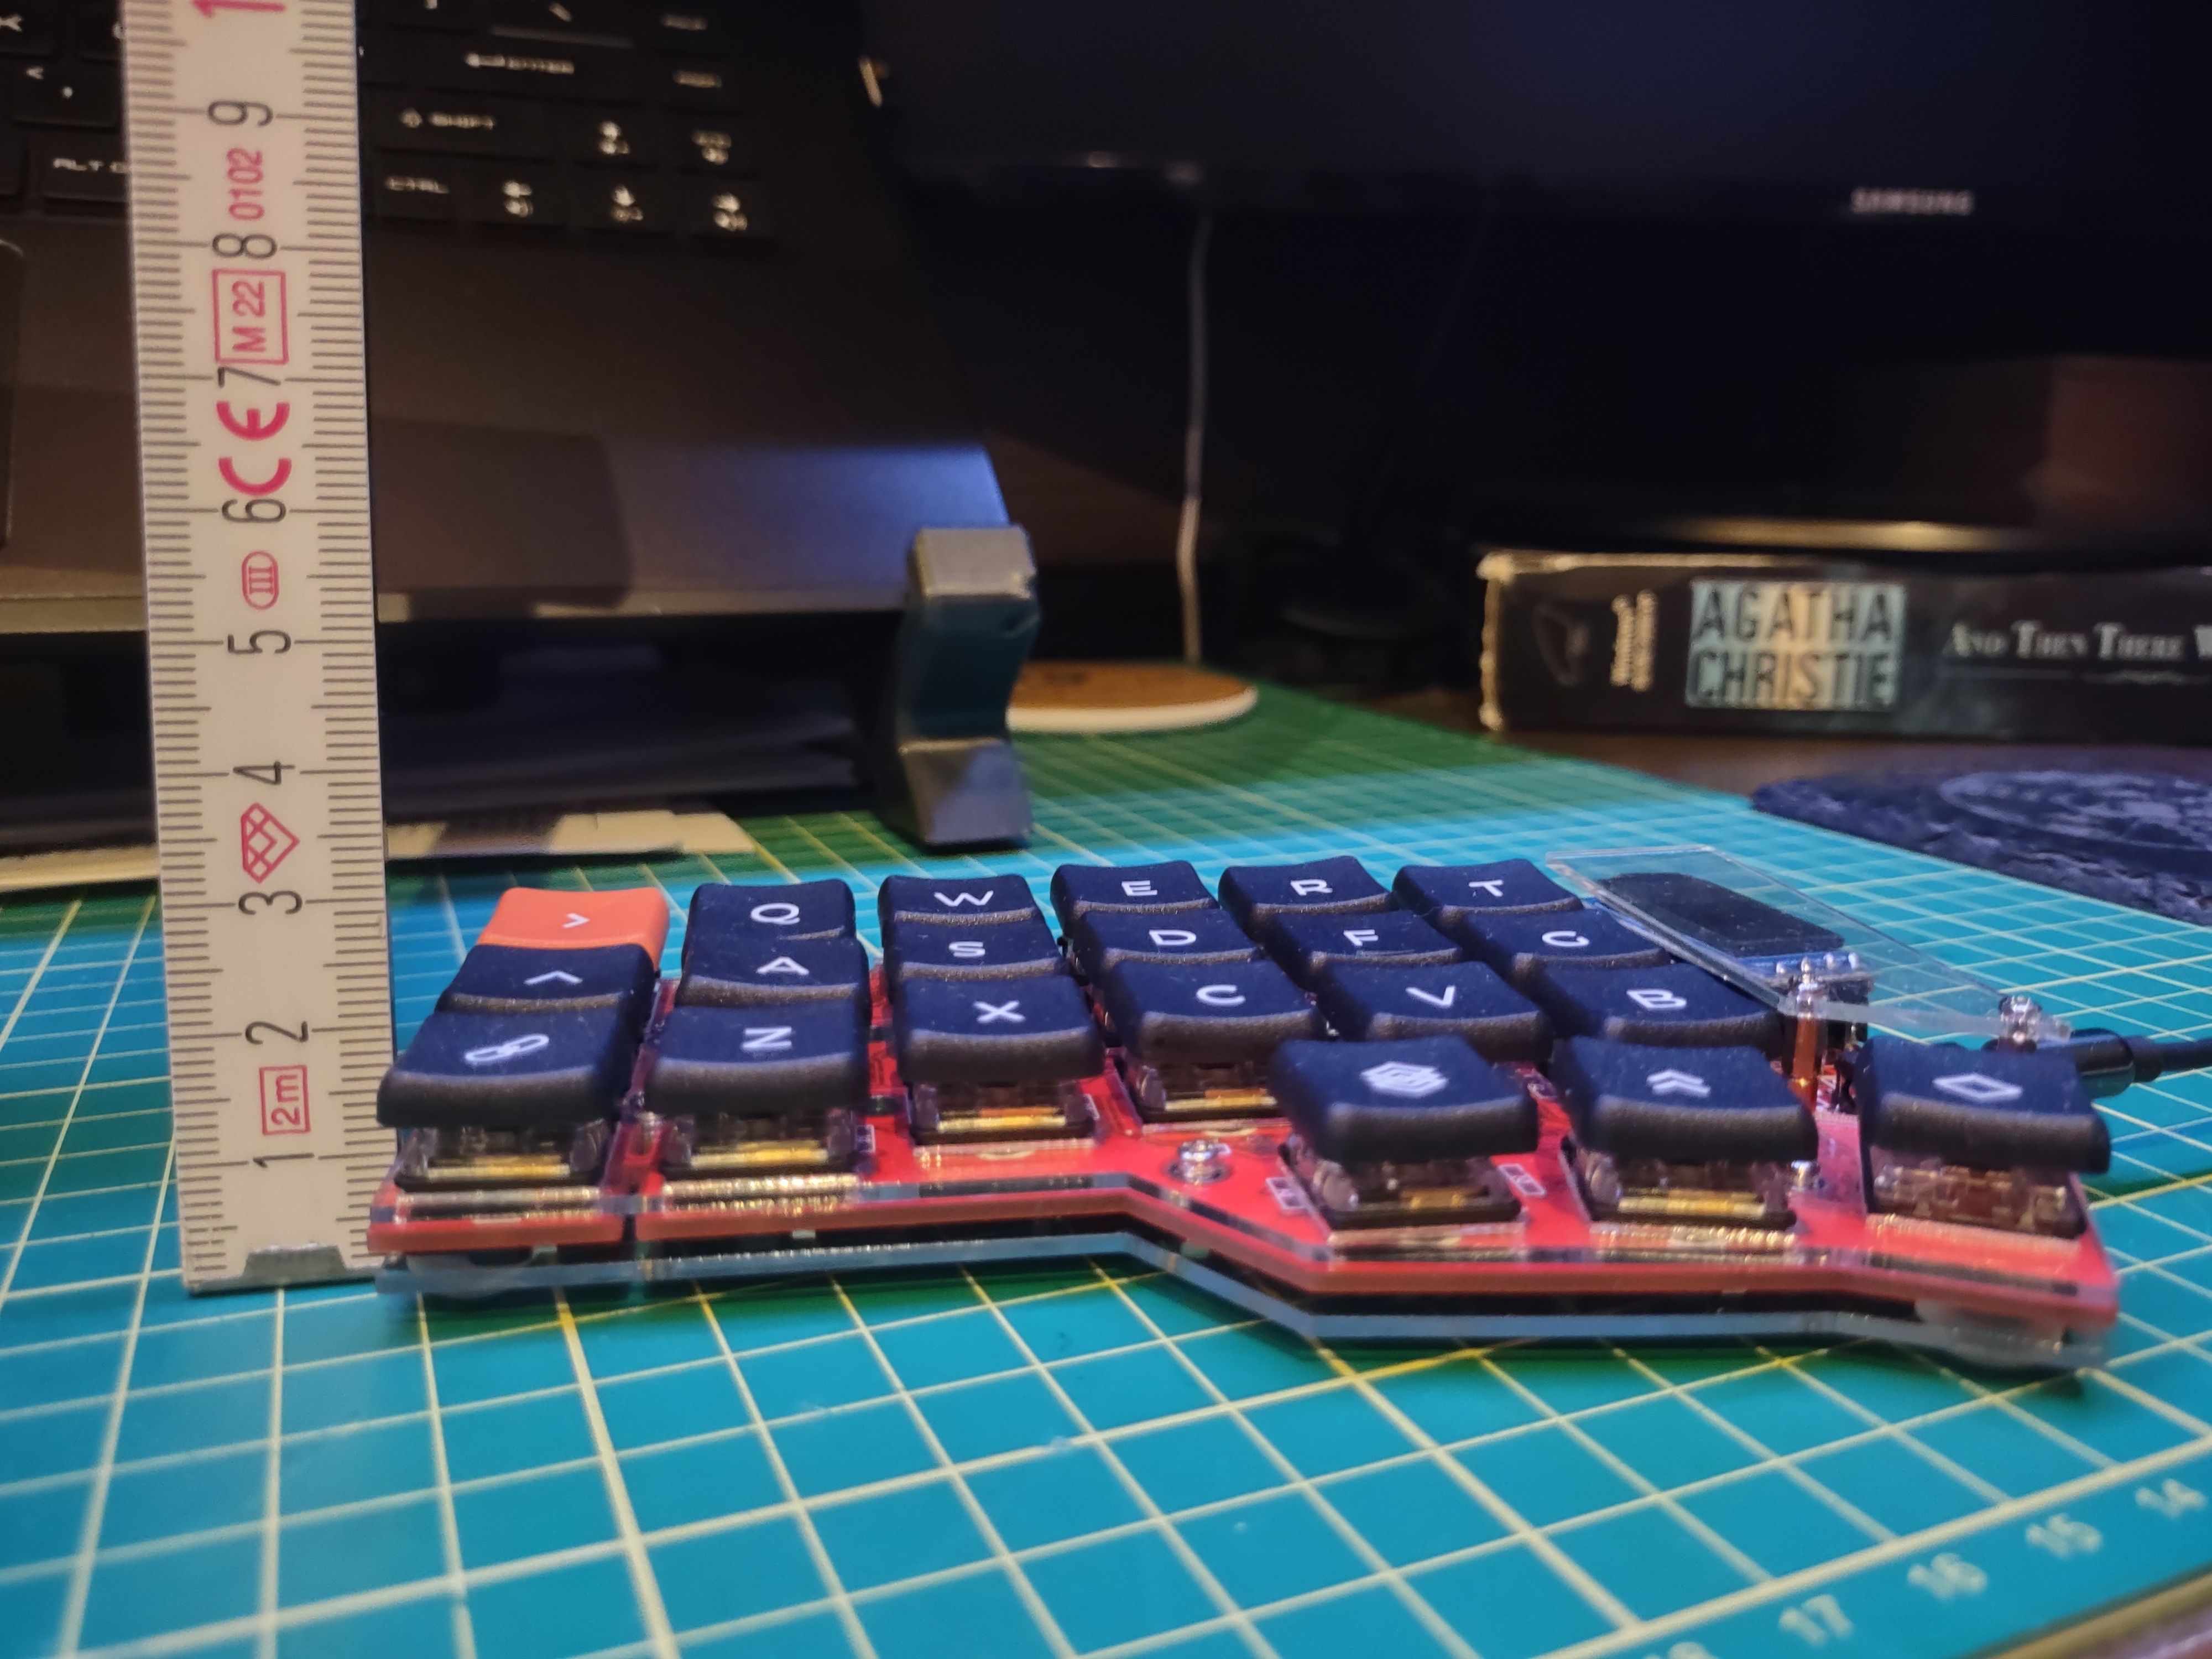
I cannot comment on the noise of the Kailh browns at the moment as the board has been giving me some grief and I am waiting on new Elite-C controllers from Omega Keys. The keycaps came from ChocFox, the PCBs were ordered directly from JLCPCB using Foostans design, everything else was mainly through amazon. As for the acrylic, I have my own CO2 laser and just cut them out of 1.5mm clear, also from Foostans GitHub repository.
There are several good tutorials out there with parts lists and the build process, Marek Piechut has a good one called Corne MX 3.0 Keyboard Build Guide.
I wanted something super thin so soldered the controller to the board, I do not suggest this as I had some errors on my part and destroyed the controller, thus I’m waiting for two new ones before I can use the board, until then I’m stuck with my hand wired dactyl manuforms.
Just make sure you know what board and keycaps you want, sounds like the Corne chocolate to me, and pay close attention to the LEDs if you go that route, I have 600 that are of no use to me and am waiting on the proper ones.
Other than that have fun and there are plenty of people willing to offer help and advice between here and Discord.
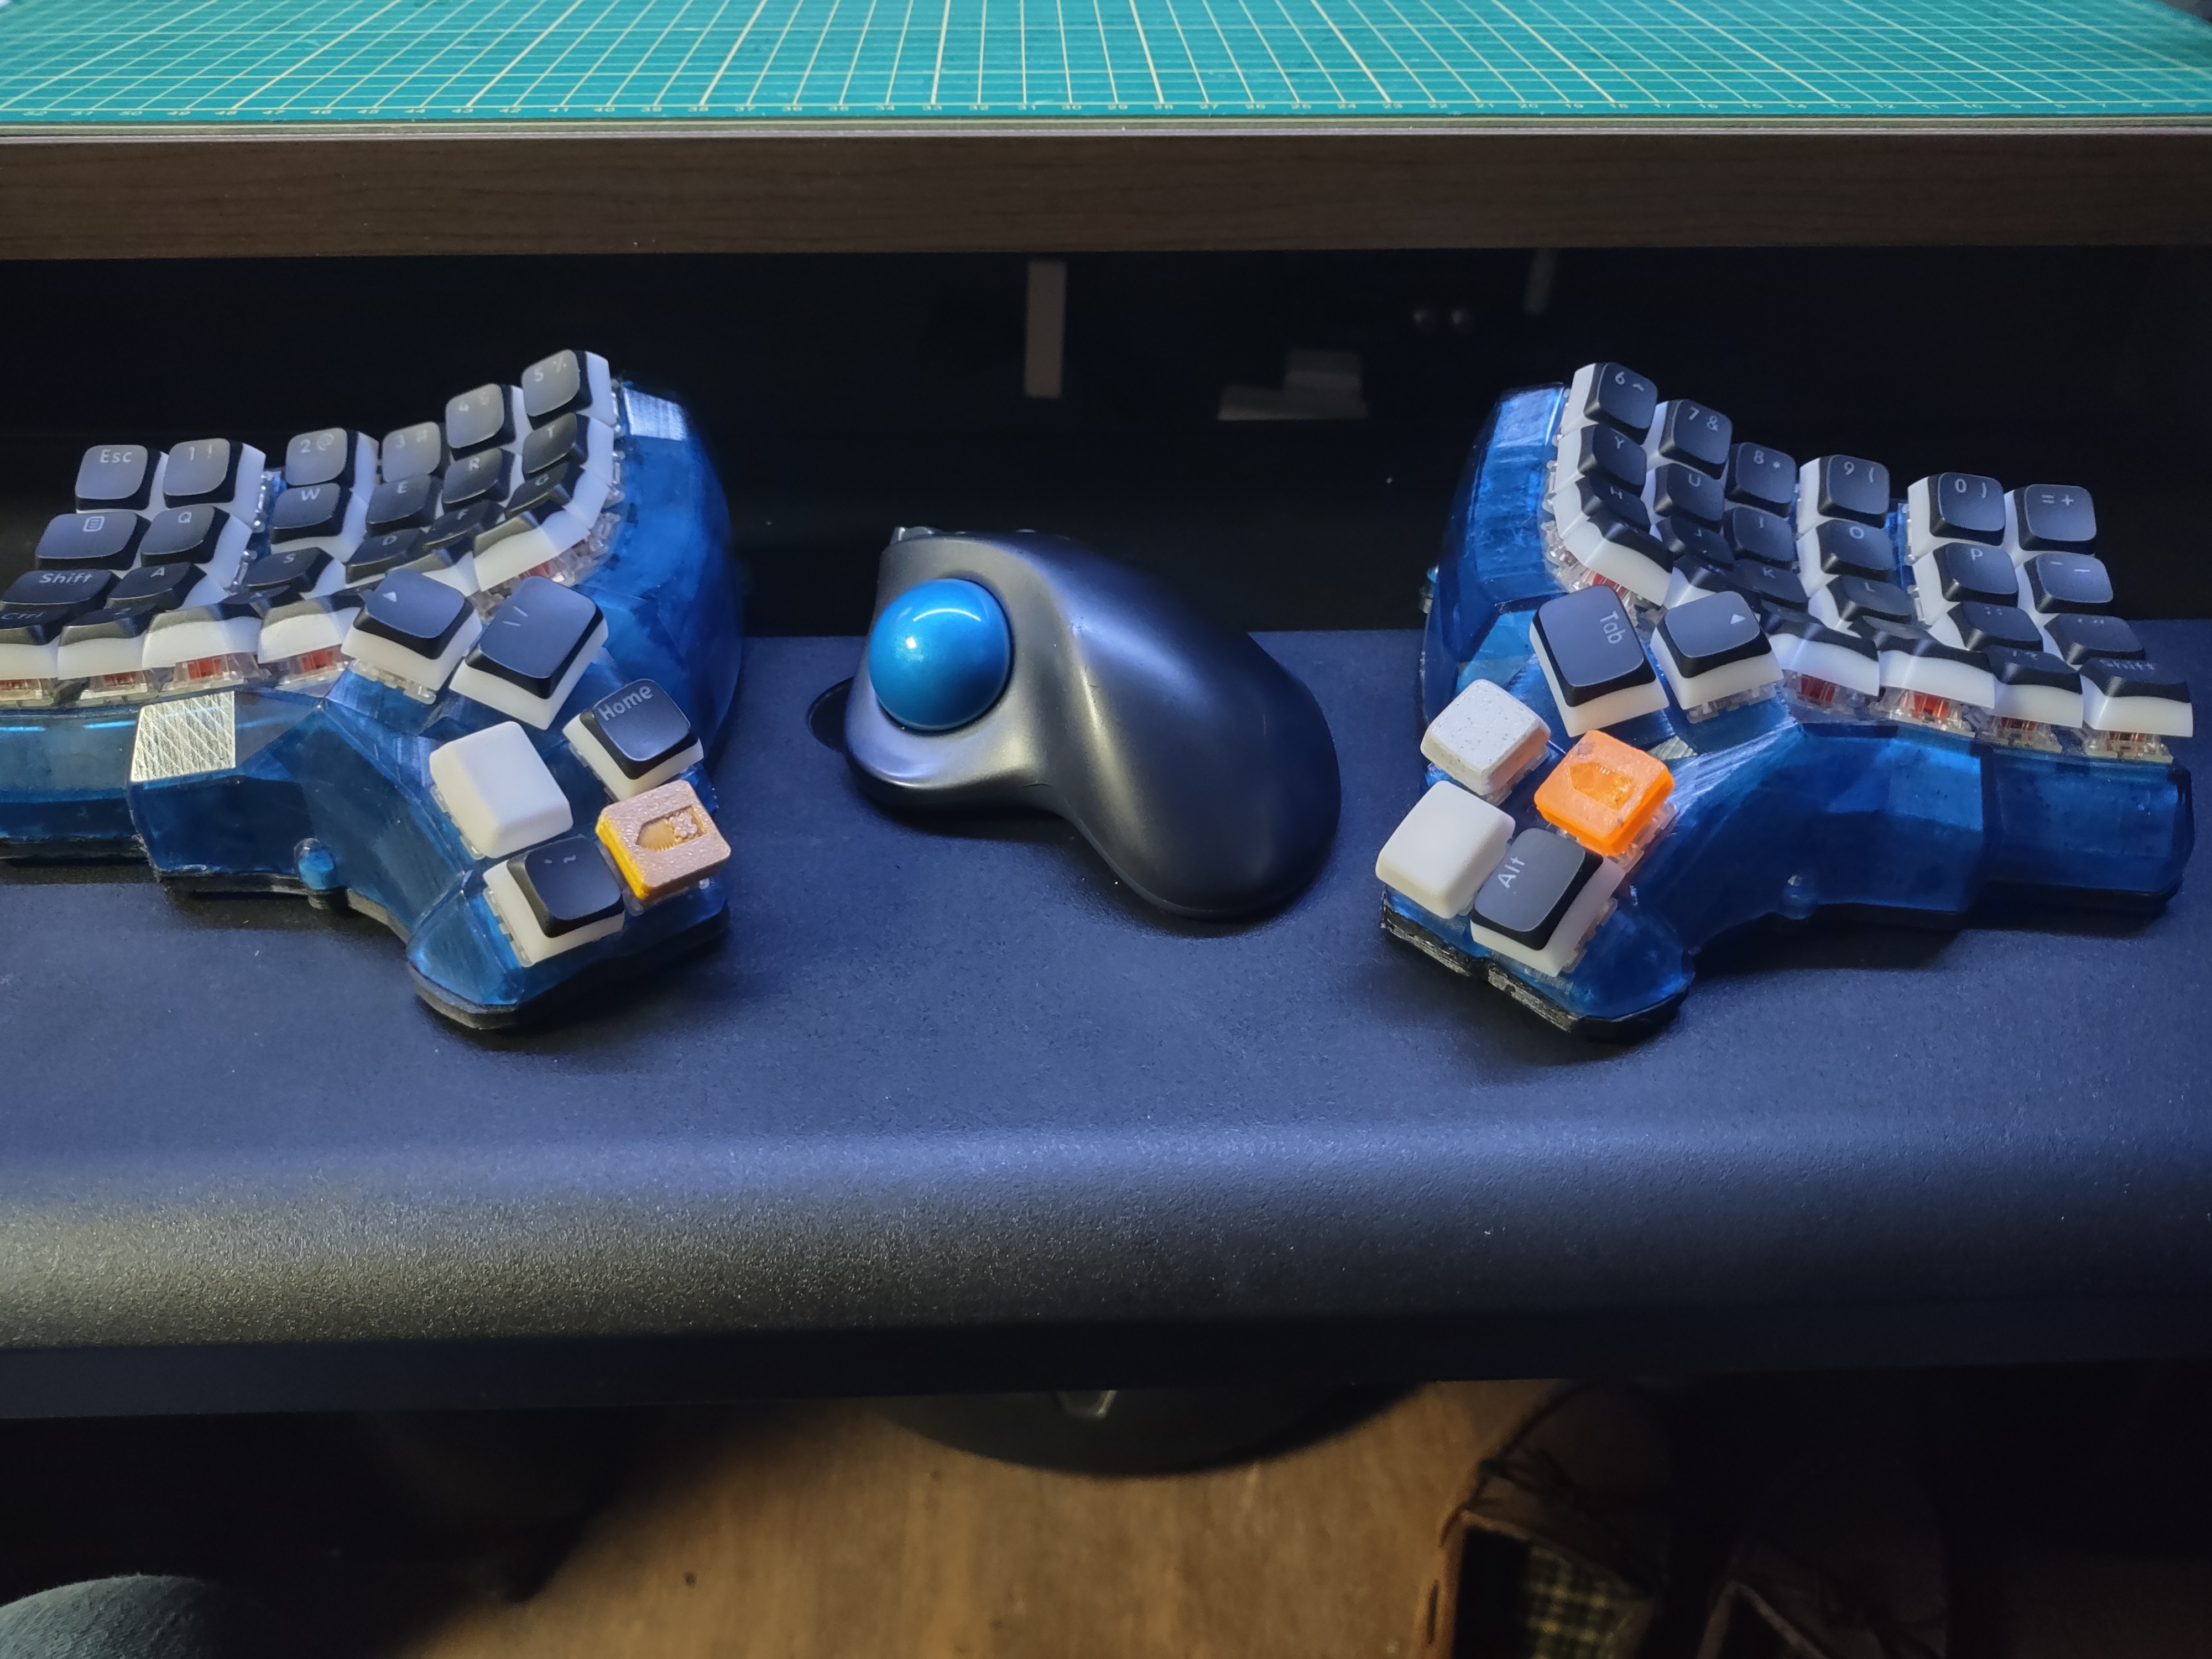
I’m building a low pro Corne, Kailh browns with ChocFox keycaps, it’ll be my travel keyboard.
Almost forgot, Teaching Tech has a great calibration web site and YouTube channel.
My first suggestion if you have a Raspberry Pi Zero 2w or better is to install Klipper. If that isn’t a route to go down for you then Myers firmware was really good (not sure if it’s still around since I went to Klipper).
I’ve printed so many miss for mine, spool holder moves to the side, filament guides, different spool holders with bearings, new hot end fan assemblies ,small tool holder that slides into the v slots. Covers for the V slots.
It’s a great machine to learn and tinker on, some people don’t like that but I really enjoyed it.
I’ve since switched to direct drive instead of the Bowden tube and added another Z rod and stepper. I have a microswiss all metal hotend which has been fantastic and I have put Noctua fans for the heat break. Also upgrade the Bowden tube to the Capricorn type, it is much better.
A magnetic build plate from Biqu was another good addition.
Almost forgot, I printed risers for the feet out if TPU and that seems to help, I probably would have tried the ones that the squash balls go into but these work fine. In order to print TPU with the Bowden tube you need to print slow.
Also keep an eye on the plastic handle on the filament extruder, they are known to be weak and crack, a good aluminum dual gear is a good low cost investment.
Search on Thingiverse and Printables for mods for the Ender 3 and you will be overwhelmed with your options.
Patience is a virtue, and remember there are no stupid questions and a huge community of people willing to help.
If there is anything else I can do to help, don’t hesitate to ask.
That sounds like an interesting plan, my E stepper driver was what acted up on my 4.2.2, it seems to be working now, but I’d like to see your config in case I need to go in that direction.
Update:
I took everyone’s advice and tried all the suggestions. In the end I completely disassembled the printer and made sure everything was square or perpendicular where it needed to be. I think maybe the dual z screws were binding, although when I took everything apart I noticed that I did not use the Y cable for both z steppers, I ran the original short cable to one motor and
the Y to another, not sure if that had any effect or not, but now the Y cable is running both z steppers.
It does seem to be better, but I still have the dip in the bed, which is still a bit of an issue for the BL Touch, but not nearly as bad as before. I may have slightly bowed it when trying to crank down the levelling wheels.
I think that the z screws were binding just enough that it couldn’t keep up with the micro adjustments, I guess time will tell.
Thanks for everyone’s input and advice, hopefully it’ll run for a couple more years. If not then a replacement Bamboo might be in order.
Now I just need my resin printers to stop failing prints, but I think that’s more me than the printers. lol
Thanks everyone.
It could be that I am cranking down on the wheels too much. Thought that maybe they were loosening off so tried to tighten them. I’ll keep that in mind when I reassemble the unit.
Thanks.
I have aluminum wheels in place if the original, they seem to be staying tight, but maybe not.
I did notice that the plastic heater wire retainer is deforming in the middle, so maybe that is contributing, I will put a larger washer on it when I reassemble the unit.
Thanks for the comment.
I did a probe accuracy test yesterday, 0.002. So I think it’s good.
I have the entire printer torn right back to square one. Will double check everything as I reassemble.
Did a couple prints yesterday with no BL touch, bed level the four corners, seemed good a bit of first layer micro adjustments.
Went to perform another print (same as the previous print) and the bed was out of whack again. The bed level test said that the right side was out half a turn on the knobs.
I’m starting to think it has to do with the dual z motors and not staying timed or level with each other.
Will see how it works once I get it all back together.
Thanks.
Currently I’m doing the bed level with everything at room temperature.
I’ll give it a try heated to see if that is causing the warping.
Cheers.
I have it clear the mesh, take a new mesh as default, and load default mesh in my start profile.
I though it might be the same, but it does make micro movements along the board to adjust for the mesh reading.
Double checked the operation of the BL Touch, it’s working and no issue (mechanically at least).
I did a complete relevel of the bed and still had an issue in the middle of the bed. Commented out the bed mesh in my config and had a better result in the middle of the bed.
Running with no BK Touch for now.
Thanks.
I’ll give that a go. Thanks for the idea.
I’ll try running sans BL Touch, it’s just weird that it was working before the board change without issue. I’ve cranked down on the silicon spacers to make sure it’s difficult for them to loosen up over time, will see how that goes.
Thanks for your comment.
How many prints do you think you’re putting through before you’re cleaning it.
I run mine through a porous rock filter (I’ll try to find the video link) every couple of months.
Typically I pre wash with Mean Green, then into the isopropyl which helps extend the life of the isopropyl.
Check out https://www.aneros.com/ you also might be able to find similar styles for less money.
They have what you are describing as well as lots of resources to help you on your journey.
Vibration is not required, for some it overstimulates, but it can be fantastic. One thing you mentioned wear"head space" and this will be important in getting where you want to go, but it helps to learn how to relax your mind and be in the moment.
Also checkout r/prostateplay on Reddit, there is tons of useful information and a great community to learn from, I haven’t found a replacement on Lemmy yet.

This is a bit older bit still has good information.
https://m.youtube.com/results?sp=mAEA&search_query=lmds+greenfrog
He walks through setting up Raspberry Pi’s and the Arrs. Can use his setup or just the information.

I can’t speak to multi colour perse, however the creality K2 went on sale today for certain countries and they have a 50% off sale for a limited number of units, they sold out today’s stock but will have it again tomorrow then they will drop to 40% then 30%. Might be good if your willing to be a beta tester essentially.
The Prusa units seems to waste less filament.